Training your first DeepLabCut Model – A step by step example
How to start your first DLC project using jupyter notebooks and google colab
Do you have the impression everyone but you is using DeepLabCut, and you start feeling left out? Well, don’t. Start your very own machine learning project for video-based tracking and markerless pose estimation today!
For a quick guide on how to install DeepLabCut refer to the previous post: Installing DeepLabCut - A three step guide. If you already have it installed, let’s go.
What you will need
You will need a computer with DeepLabCut installed (no GPU needed), as well as a working google account with some space left in your google drive. If you want to start right away you will find demo data and code here, but it will be more fun if you bring your own videos and a preliminary idea of what you want to track. The original papers track movement and pose in mice and other animals (Mathis et al., 2018), but you can also track human facial expressions (see here) or even the location of a coin during magic tricks (see Zaghi-Lara et al., 2019). It is your first project, do whatever you want! I’m excited to hear about it and see how it turns out.
What you will learn
In this example you will train a machine learning model to read an analogue clock, just for the fun of automating things. More importantly, you will learn how to create a new project in DeepLabCut, how to label frames and how not to get lost in the project directory structure. You will also learn how to use python commands in a jupyter notebook and in google colab to train and evaluate your model. Last but not least, you will use your new model to analyze video data. How to process your output will be tackled in a separate post, but for now, enjoy your tracked videos.
Note: This is only a beginners guide to help you get started. Apart from the python notebooks provided I can only recommend taking some time checking out these DeepLabCut resources on Github, specially for getting started with analyses on your real data.
Let’s start with an example:
DeepLabCut is all about tracking moving objects in video frames, and this example will be about tracking moving clock hands to read analogue clocks. The DeepLabCut toolbox can either be used through the user interface or with a list of python functions in a script, notebook or directly through the terminal. While the graphic user interface is easiest to start with, I believe that having an overview of the python functions used underneath the surface is essential for a clear understanding of the analysis process. Moreover, when it comes to moving the analysis to google colab to use their GPU in the cloud, a python notebook will be the only way to go. Therefore, combining both, the user interface and a set of python functions, from the very beginning will be really beneficial in the long run.
For this project, I have collected 14 different stock videos from pexels.com and pixabay.com instead of using own videos of ticking clocks. The goal was to aim for a diverse dataset of different looking clocks, and I did not have so many hanging around.
A typical DeepLabCut project consists of the following 4 steps:
- Creating a project and editing the config.yaml file
- Extracting and labeling frames
- Training a model to learn your markers
- Analyze videos and extract coordinates
This process can be expanded at will by evaluating the model after training, refining outlier labels, merging new frames and re-training the model several times. An overview of the whole process and the corresponding python commands can be found in the jupyter notebook provided as Part I. If you have a GPU on your machine, you can just follow those steps. Because this won’t be the case for most of us, at least at the beginning, we will work from a DLC-CPU environment and outsource the model training to a cloud computing environment in google colab. For this step you will need the colab notebook provided as Part II.
Step 1: Create a new project
To create a new DeepLabCut project you can run the following lines from the jupyter notebook:
import deeplabcut
path_config_file = deeplabcut.create_new_project('Project_name', 'Experimenter', [‘videofile_path‘], videotype='mp4', copy_videos = True)
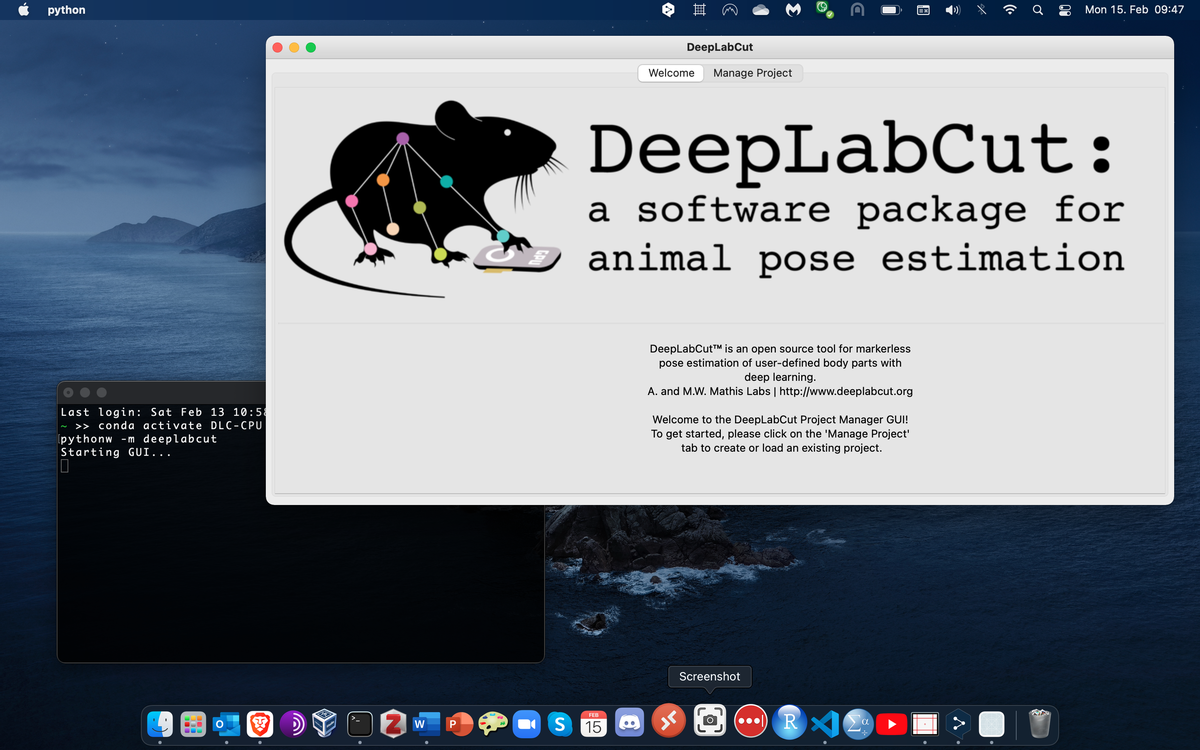
Or you can start the DeepLabCut interface and set the same parameters as above: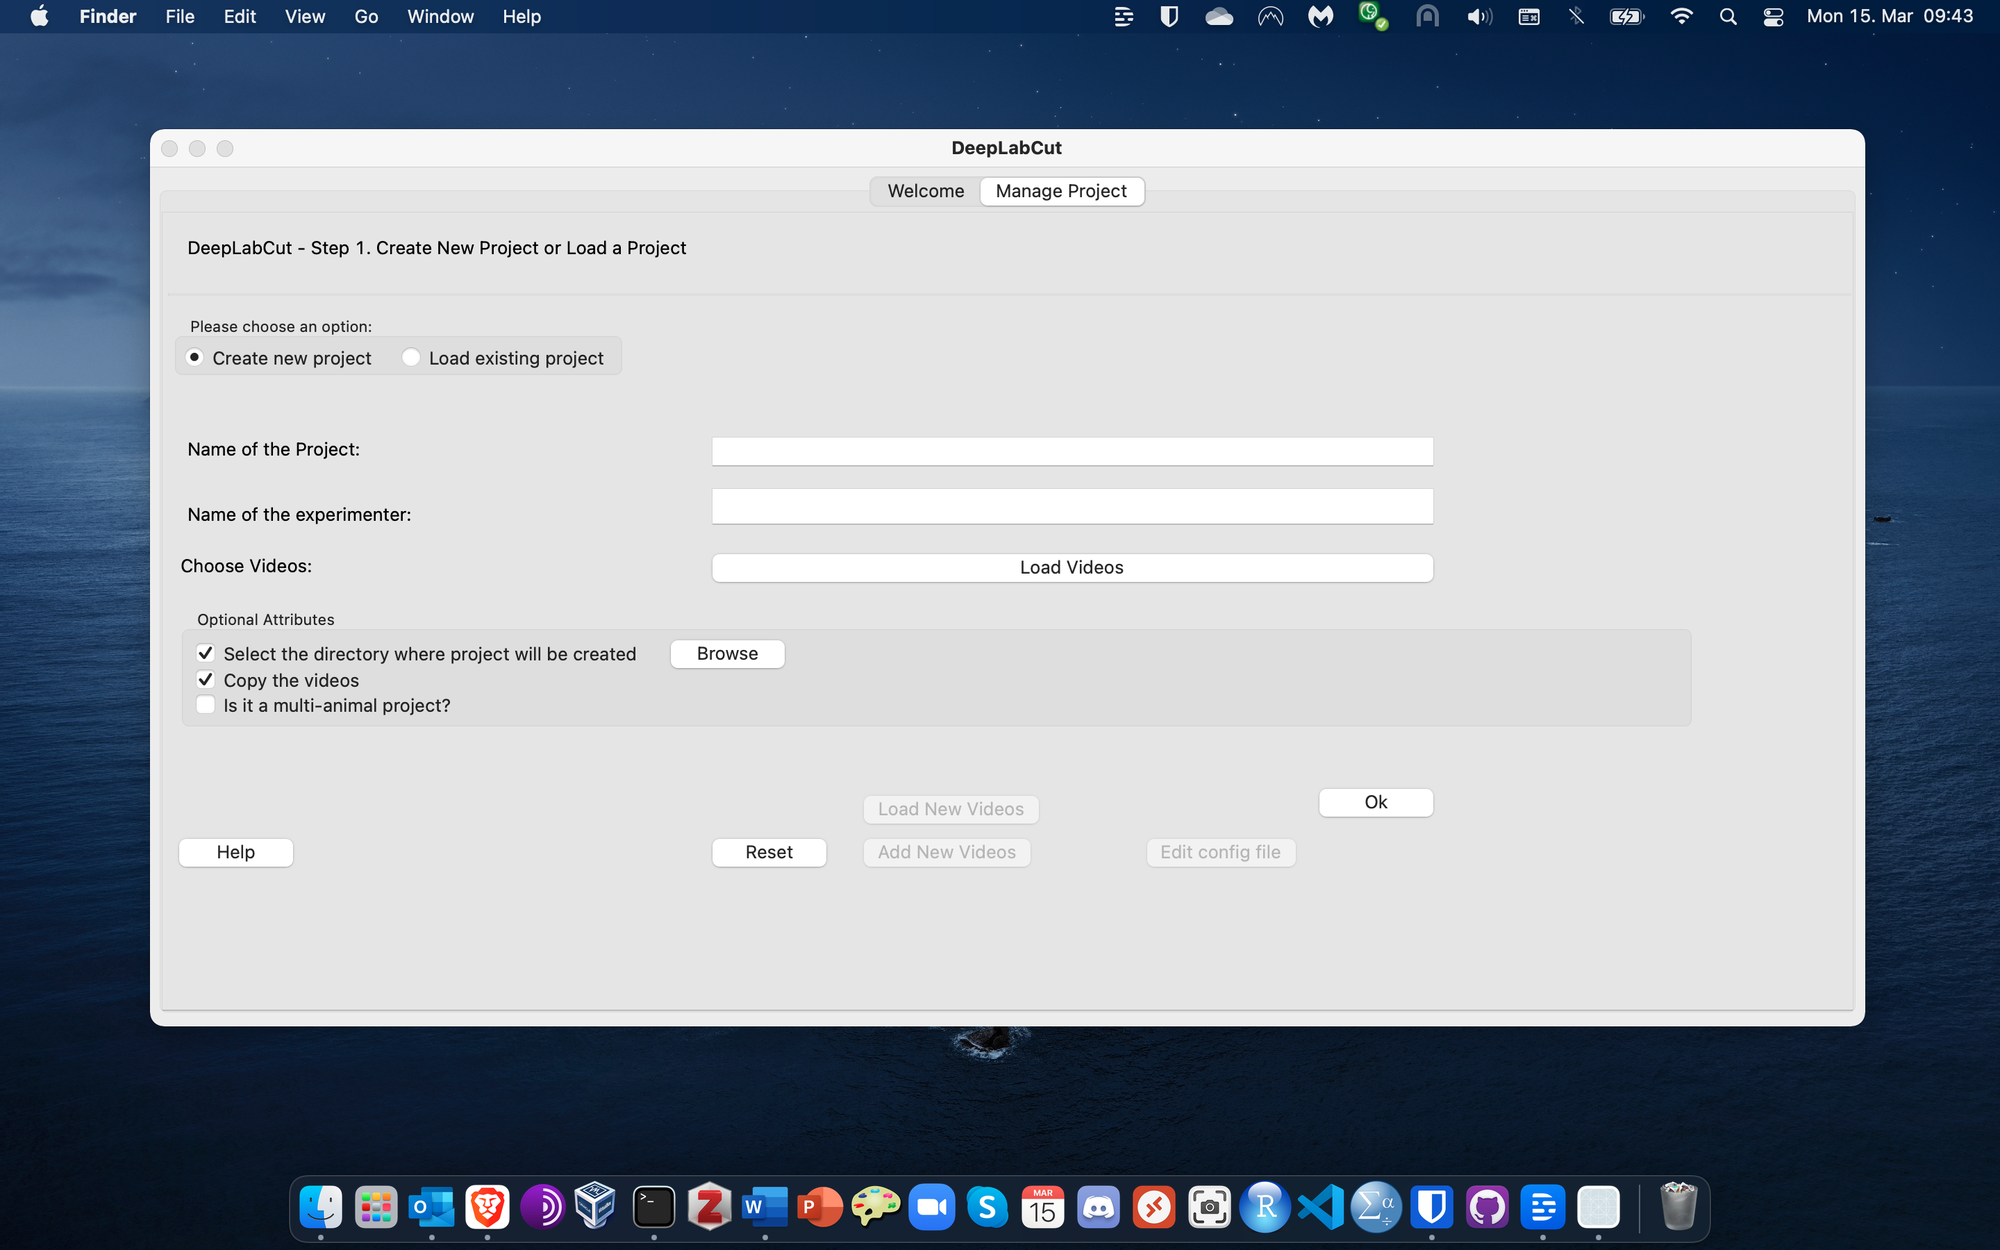
After creating the project, locate it in your machine and open the config.yaml file with your favorite text editor. In the section bodyparts list all the points you want to track from your video. Try to keep a meaningful order, as this will be the labeling order for every frame.
config.yaml :
bodyparts:
- center
- hour
- minute
- second
- twelve
The section skeleton below, refers to the final plotting configuration. Here you can define the connections between bodyparts to be displayed (e.g., the connection between center and hour represents the hour hand in the clock), as well as the size and color.
config.yaml :
skeleton:
- - center
  - hour
- - center
  - minute
- - center
  - twelve
skeleton_color: black
pcutoff: 0.6
dotsize: 12
alphavalue: 0.7
colormap: plasma
Save the edited config file and proceed to labeling.
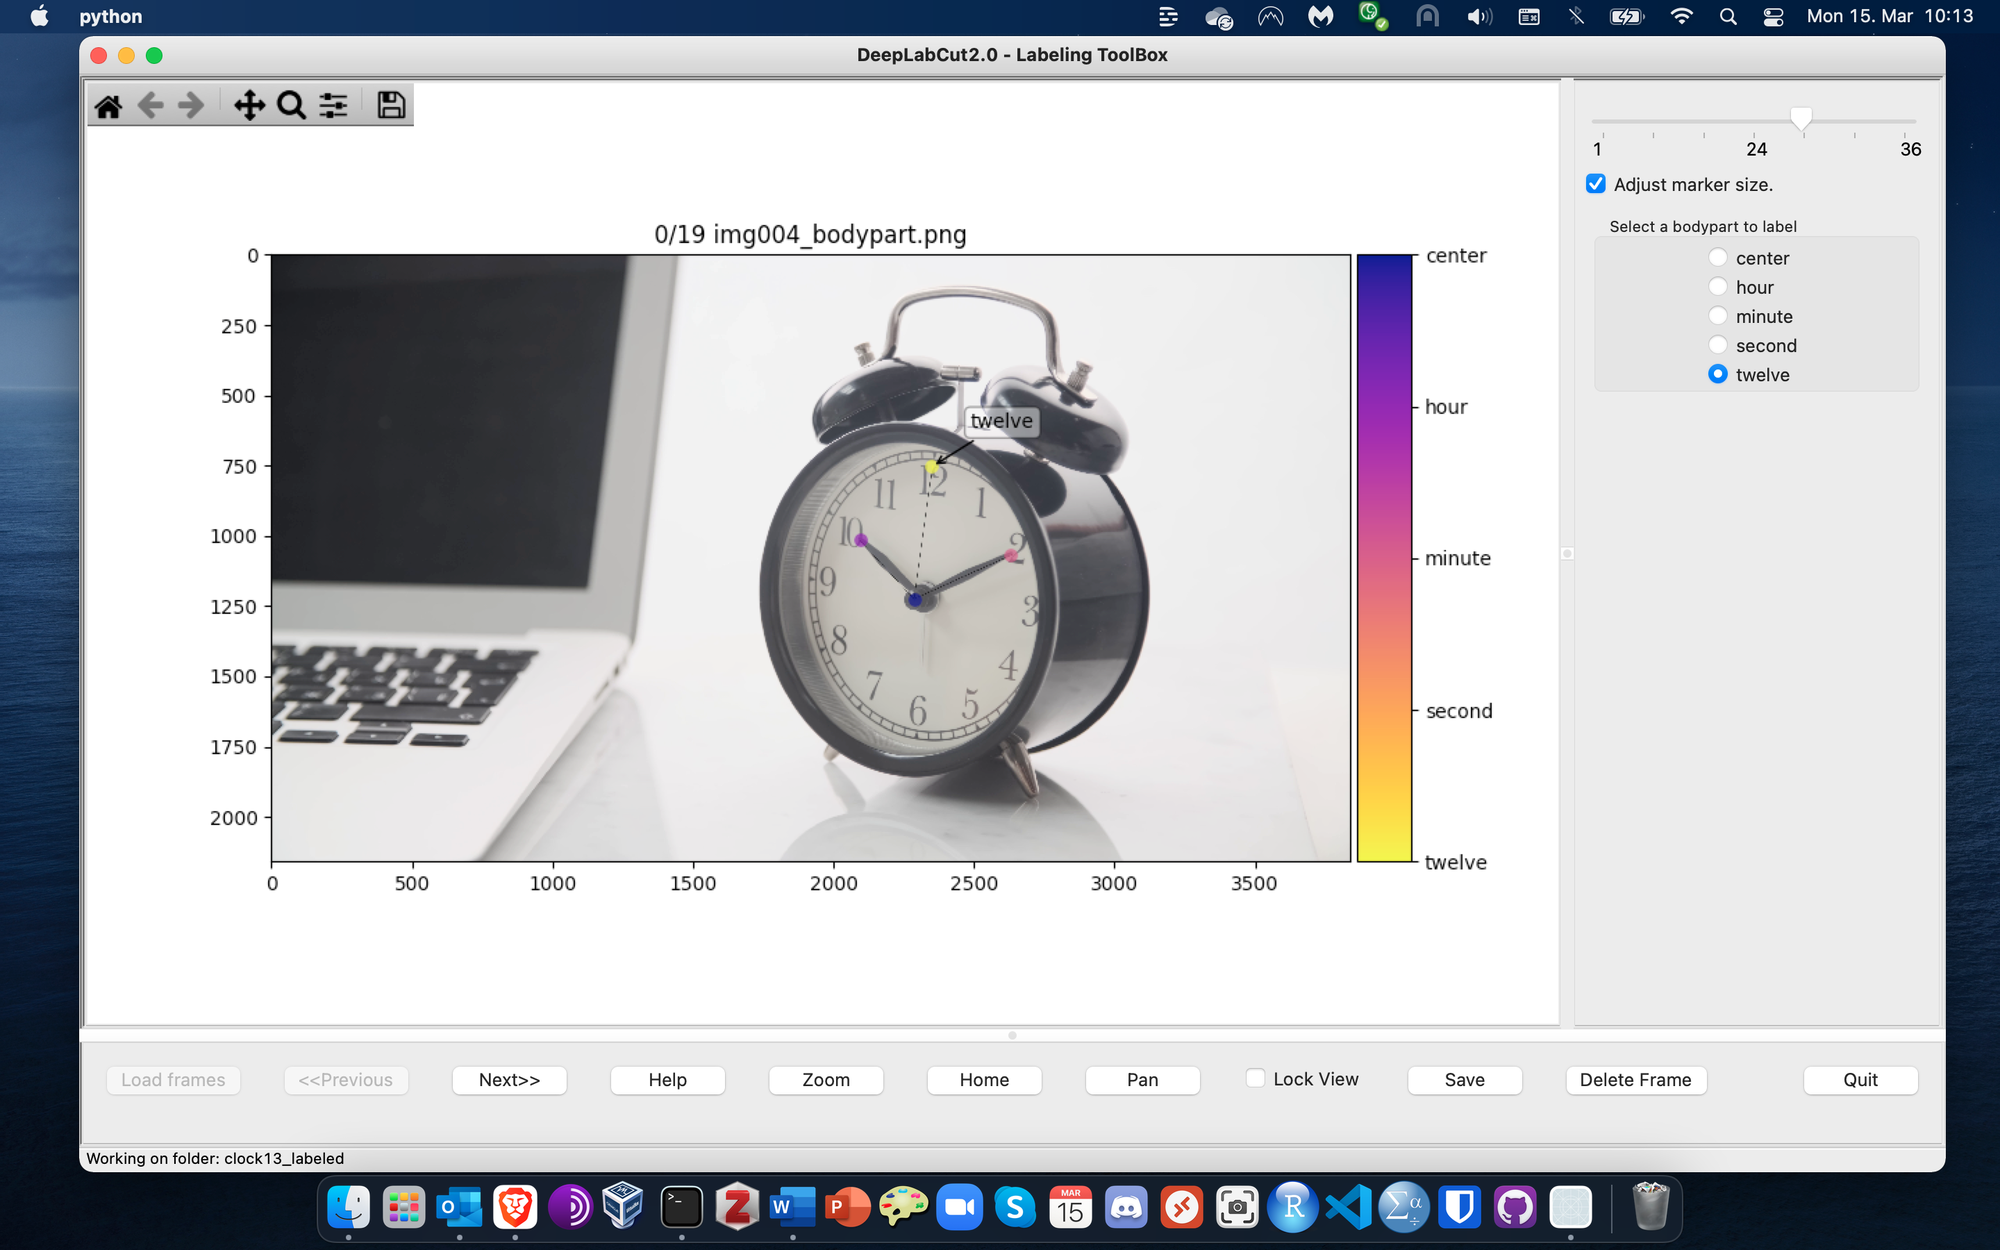
Step 2: Extract and label frames
The next step consists of sampling all frames from all the videos in your project (i.e., many) and then selecting only a small subsample of frames from each video to be labeled manually. In the python notebook you can run the following command:
deeplabcut.extract_frames(path_config_file, 'automatic', 'kmeans', crop = True, userfeedback = False)
Or use the screen Extract frames from the DeepLabCut GUI:
Check the terminal output for a message when this process is finished, and start labeling frames. This part will take the longest, get a coffee and make yourself comfortable. You don’t want to rush through this part, as the overall model accuracy will depend on how accurate you are labeling these frames. Take some breaks in between and hang in there.
Step 3: Train your DLC model
Now is the time where the extra GPU computing power is needed, so you have to upload the entire DLC project folder to google drive and open the google colab notebook. Follow the instructions in the notebook to set a few configurations in the colab environment, mount your google drive storage and update the project directory path in the config.yaml file. Create a training dataset from your labeled data and start training your model with GPU access from the colab environment. This process will take many hours, so don’t stay up. I recommend training over night or even over the weekend.

Note: Personally, I wouldn’t want to upload the data for the big scientific breackthrough on google drive before publishing. Google colab is a very good starting point to learn DeepLabCut before investing in expensive GPU upgrades, but this is not a recommendation to use google to save your data. Please use it at your own risk.
For this example, my model run for 36800 iterations before it lost connection to the GPU. For a demo this will be perfectly fine, but for a real data analysis it is recommended running 50k to 200k iterations. To restart training from the last saved iteration we would find the train subdirectory within the dlc-models directory and look for the latest snapshot. Open the pose_cfg.yaml file within the same folder and edit the parameter init_weights to add the last snapshot without any filetype ending. Then you would re-train the model, again over night.
pose_cfg.yaml :
init_weights: '/content/drive/MyDrive/clock_reading-guillermo-2021-02-15/dlc-models/iteration-0/clock_readingFeb15-trainset95shuffle1/train/snapshot-36800'
Step 4: Analyze all your videos
If everything went according to plan, you now have your very own machine learning model trained to recognize the markers you defined during the manual labeling process. As mentioned before, it is advisable to evaluate and refine your model until you reach the precision you need, but for a first impression of how DeepLabCut works, whatever model you trained should work for now.
You could continue working in google colab for the next part, but the GPU is no longer needed. We are therefore going to download the project folder to our local machine, change the path directory in the config file back, and start DeepLabCut again. You have to load the existent config.yaml file instead of creating a new project, and jump through the taps to analyze your videos, filter coordinate predictions, create trajectory plots and create labeled output videos. You can even export your model and skip step 2 and 3 in all your future projects.
This is one of the labeled videos analyzed with the model trained above, reading the clock on a castle tower:
The main DLC output is a csv file for each video containing the coordinates and prediction accuracy for each of the markers at each video frame. To start processing your DeepLabCut output check out my next post on how to analyze these coordinates to extract movement, pose or behavior. If you feel comfortable trying by yourself, you can also check my previous post for an example on how to apply DeepLabCut in facial expression analysis using unsupervised machine learning.
Let me know on Twitter if you found this guide useful or would like to have a more detailed discussion on any of the methods used above.
Guillermo Hidalgo Gadea
PhD Student in Psychology
My research interests include embodied cognition, animal behavior and machine learning.