Installing DeepLabCut - A three step guide
Getting started with DeepLabCut for markerless tracking

Is DeepLabCut for me?
Probably yes. If you happen to work with videos and you want to extract information out of them, DeepLabCut is probably a good tool for you. If you need to track the position of a certain object on every single frame, you would benefit from using DLC. If, say, you want to track 5, 10 or 100 different points and their relative position (i.e., a pose), you should be using DeepLabCut. And if it turns out these points are repeated across multiple objects or individuals, you guessed it, DLC for multi-animal tracking! If you don’t happen to work with videos, you should probably start doing so.
A short remark first: This guide is about DeepLabCutTM and how to install it, this is no review about best tools available. There are several other promising open source projects for markerless tracking out there, like OpenPose, EthoLoop and OptiFlex just to name a few. I just happened to start using DeepLabCut when other software was not yet as easily available. For a review on different approaches see Desmarais et al. (2020) and Mathis et al. (2020).
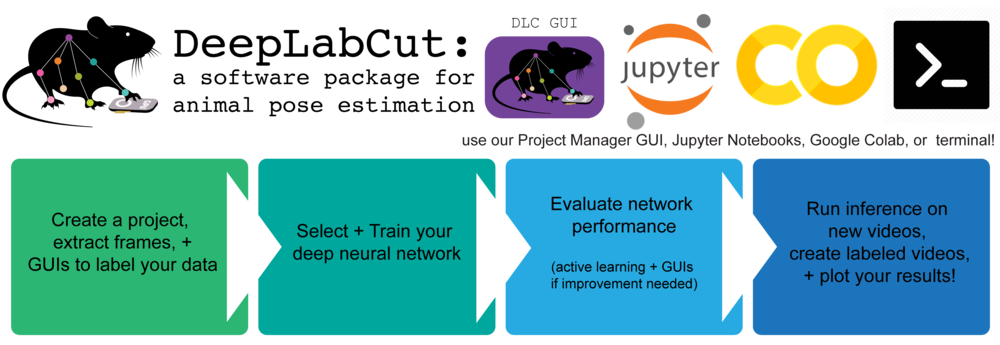
But now back to the topic. In case you haven’t heard of it, DeepLabCut is an open source package for markerless pose estimation based on transfer learning with deep neural networks (Mathis et al., 2018). It uses algorithms from DeeperCut, and an extremely deep neural network pretrained on a dataset for object detection (ImageNet). DeepLabCut was originally developed for animal pose estimation, which does not exclude humans, see Namba et al. (2021), and can also be used to track inanimate objects, as we will see in our first DLC project.
How to get started
First of all, you will need to use python and several python related libraries (i.e., a specific python environment). Or rather, DeepLabCut will need it, don’t panic! If you have no programming experience whatsoever and not the slightest interest in learning to code, this guide is still relevant for you. Nevertheless, I will assume either interest or minimal experience in any programming language, or at least with computers and not deleting the internet. This post series will provide you with code snippets, jupyter notebooks and plenty of useful references to work through the python code step by step. If you are still not interested, you will learn to use your mouse and a graphic user interface with pretty buttons.
Installation
This is arguably the hardest part, but let’s start easy. First, you will have to install Anaconda, a free python distribution and package manager that will help you keep all your libraries up to date. The process varies slightly depending on your machine (Windows, macOS or Linux), but overall, you will have to click here, choose your system, download the installer and click through all Next, Agree and Install buttons. Once finished, you can use Anaconda either through the Navigator (a graphic user interface) or the Terminal (the scary black pop-up window).
Next, you will install DeepLabCut, and for that you will have to choose between the full GPU and the simpler CPU version (see note below). On the DeepLabCut homepage, scroll to the bottom of the page to see the respective download files. For convenience you can find the same download links here for the CPU and for the GPU version.
Note: Because training deep neural networks is quite computationally intensive, most machine learning approaches make use of additional hardware (graphic processing units or GPUs) originally used in gaming to perform the needed computations. That means that most standard computers and laptops won’t have the processing power required, without upgrading to a GPU first. But luckily, the CPU version of DeepLabCut will allow you to perform most of the pre- and post-processing on your own computer, while outsourcing the actual model training to a cloud computing environment like Google Colab (more on that in the next post).
In case you already have a GPU or the chance to upgrade your computer you will first have to install the Nvidia drivers from here and CUDA 10 from here.
Once you downloaded the installation file from above and have anaconda installed open the terminal, locate your DeepLabCut installation file (e.g., in Downloads directory), and create a new virtual environment for the specific file with the following command:
ls Downloads
cd Downloads

conda env create -f DLC-CPU.yaml

conda env list
conda activate DLC-CPU
See as short video demo:
Upgrades and Downgreades
Next, we are going to upgrade DeepLabCut to the latest beta release, as of today 2.2b8 (check for newest release here). We are also going to downgrade the library wxpython < 4.1, as some issues have been reported. Again using the terminal, upgrade deeplabcut == 2.2b8 and downgrade wxPython == 4.0.7 as follows:
conda activate DLC-CPU
pip install deeplabcut==2.2b8
pip install -U wxPython==4.0.7
See as short video demo:
UPDATE: A new stable version of deeplabcut 2.2 has been officially released in May 2021, making the upgraded to the 2.2b8 beta release (09.09.2020) described above obsolete. You can skip the upgrade and stay with the official release (see here). If you already installed deeplabcut==2.2b8 you can upgrade to the newer deeplabcut==2.2rc1 running the following commands in your terminal:
conda activate DLC-CPU
pip install 'deeplabcut[gui]'==2.2rc1
Starting DeepLabCut
Now that DeepLabCut is installed in its own virtual environment we can start having fun with it. And it actually is up to you how to get started! DeepLabCut can be used from the GUI by mouse clicks, from terminal with python functions or from jupyter notebooks that can be easily moved to cloud computing servers like google colab. Because we are working from a CPU environment and won’t be able to train our models locally, we will use a combination of jupyter notebooks to protocol our process and the DLC GUI for the easier overview.
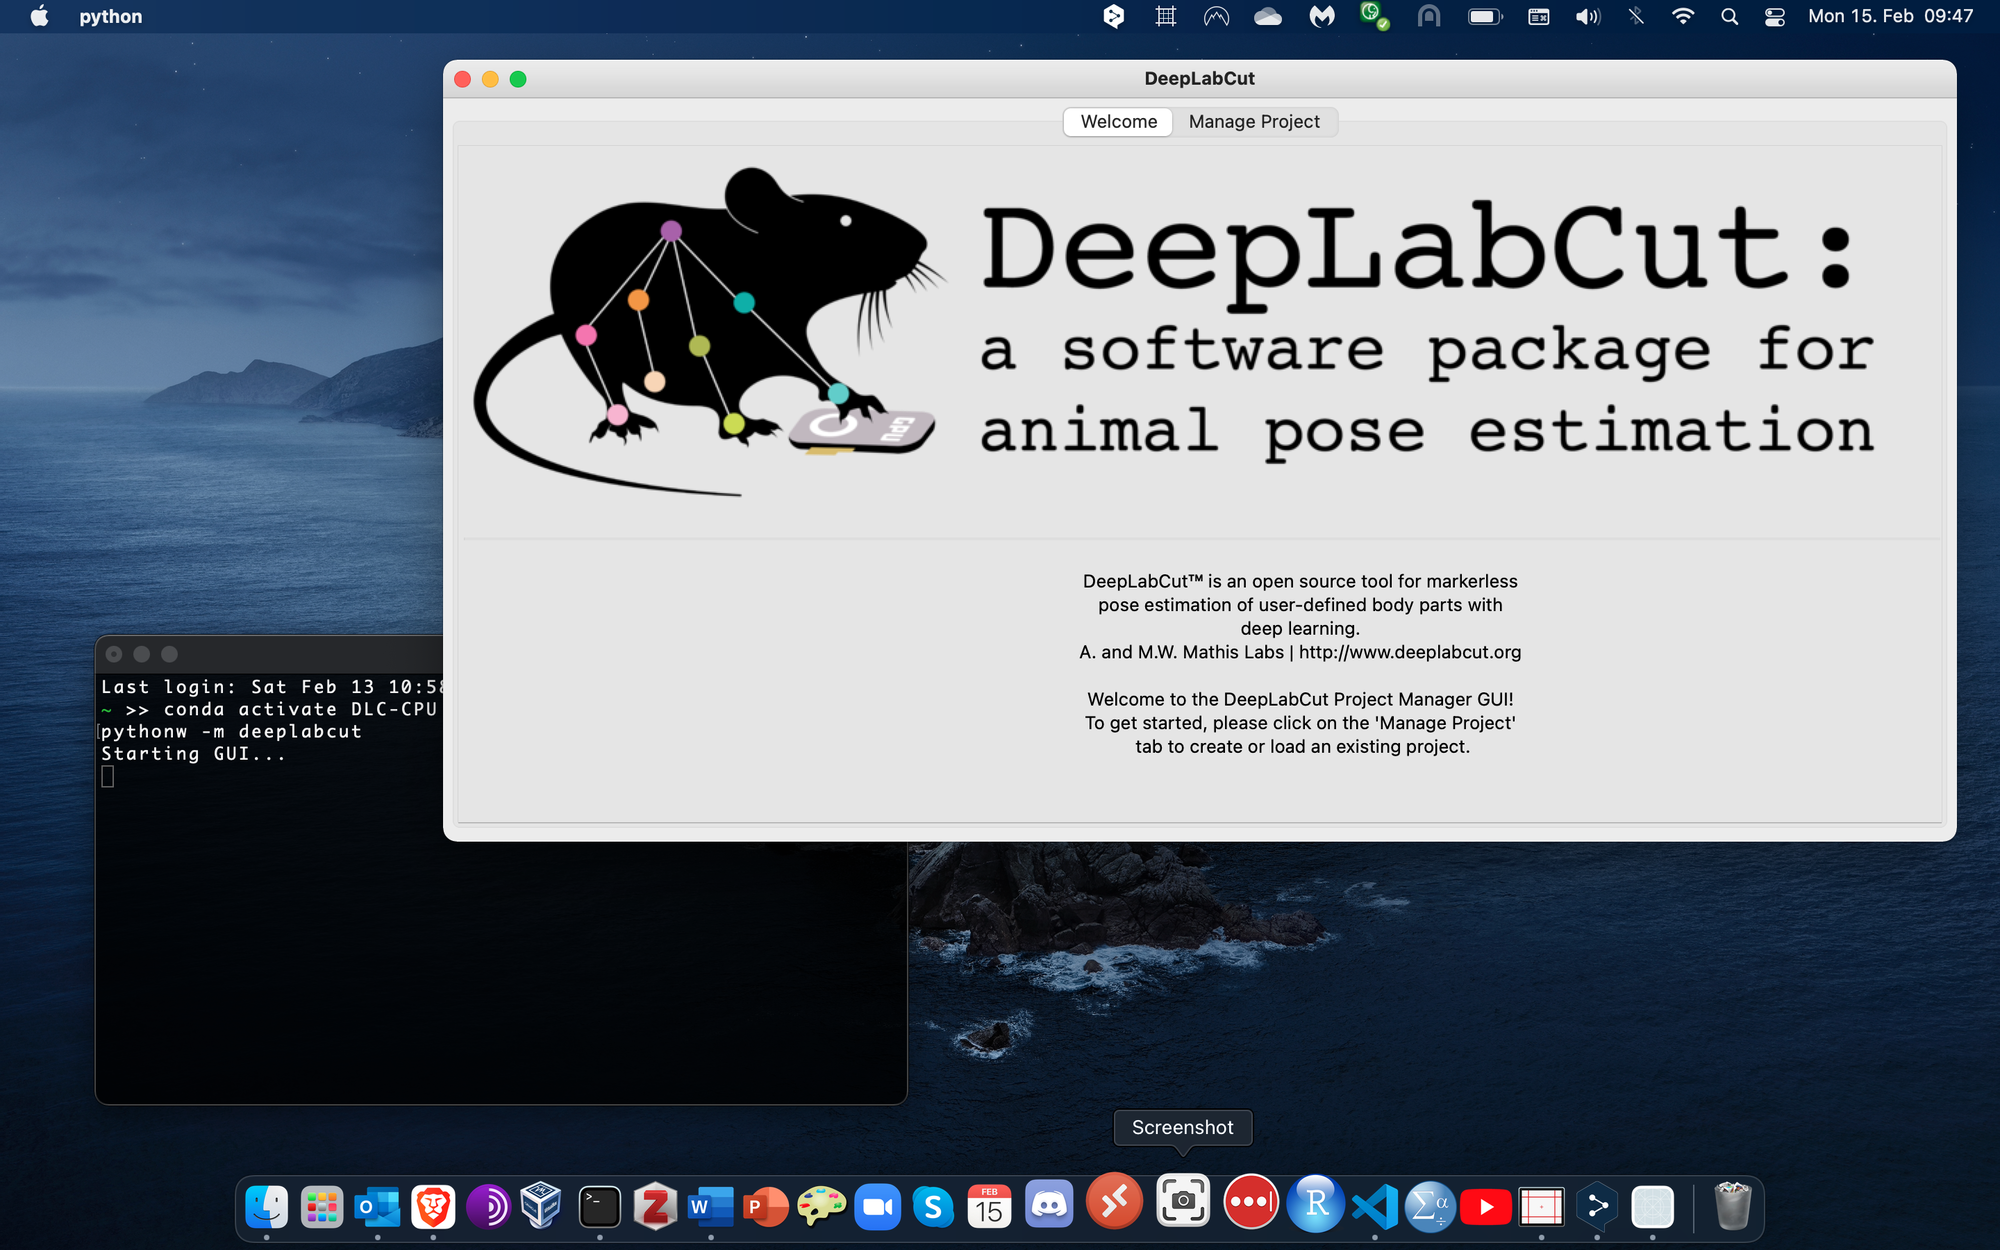
To get started, open the terminal in macOS, activate your DLC-CPU conda environment and start the DeepLabCut GUI:
conda activate DLC-CPU
pythonw -m deeplabcut
In Windows open the cmd command prompt, activate your environment and start DeepLabCut using python instead of pythonw:
conda activate DLC-CPU
python -m deeplabcut
Alternatively, you can also start a PythonW (macOS) or an IPython (Windows) shell and start DeepLabCut with the following python command:
import deeplabcut

deeplabcut.launch_dlc()
Both methods above will start the DeepLabCut GUI. Find an arrangement on the screen that works for you to see the terminal output and the DeepLabCut window at the same time.
To start your first DeepLabCut project check out my next post on Training your first DeepLabCut Model. If you feel comfortable trying by yourself, check out these resources from the DeepLabCut Github page, or these youtube tutorials.
You can also check my previous post for an example on how to apply DeepLabCut in facial expression analysis using unsupervised machine learning.
Let me know on Twitter if you found this guide useful or would like to have a more detailed discussion on any of the methods used above.
Guillermo Hidalgo Gadea
PhD Student in Psychology
My research interests include embodied cognition, animal behavior and machine learning.